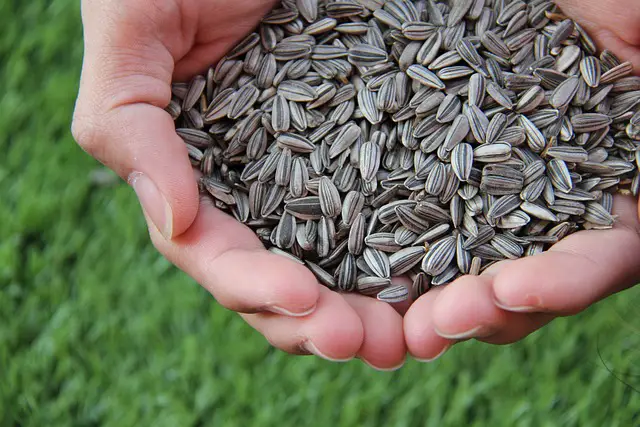
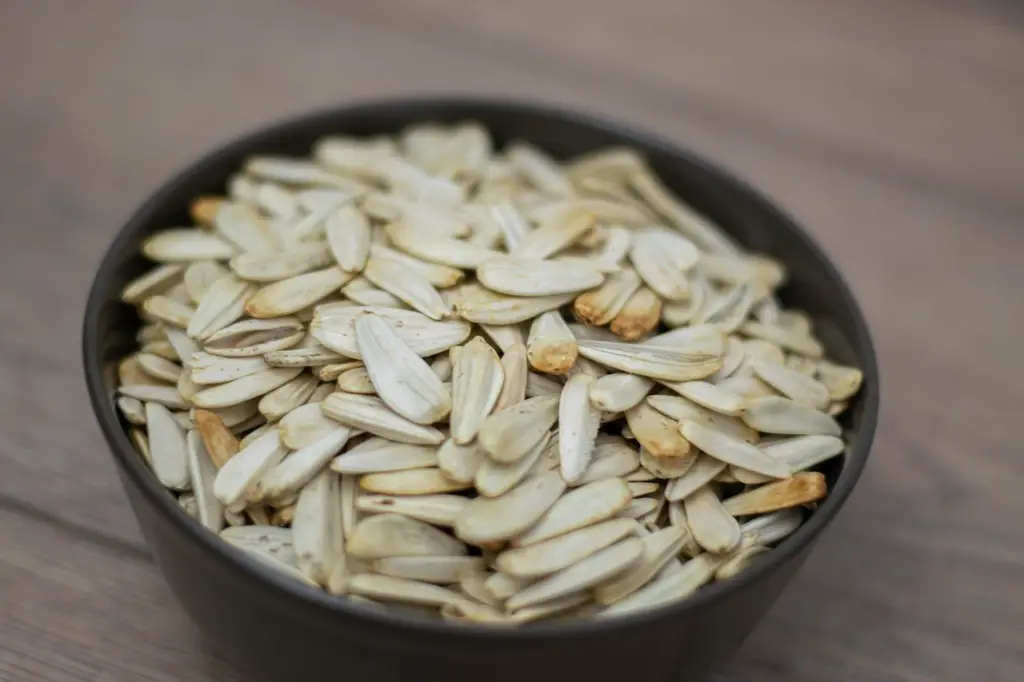
Sunflower seeds, those delicious kernels packed with nutrients, are a delightful addition to various dishes. Harvesting sunflower seeds is a rewarding process that not only provides a fresh supply of these tasty treats but also connects you with the natural cycle of sunflowers. In this guide, we’ll explore the step-by-step process of harvesting sunflower seeds, from selecting the right sunflowers to enjoying the final product.
Optimal Timing for Harvest
Timing is crucial when harvesting sunflower seeds. Harvesting too early may result in underdeveloped seeds, while waiting too long might lead to overripe or bird-picked seeds. Follow these guidelines for optimal timing:
- Yellowing of the Back: When the back of the sunflower head turns yellow, it’s a sign that the seeds are entering the final stage of maturation. This is the initial indicator that the seeds are nearing readiness.
- Petals Wilt and Dry: As the petals wilt and dry, it’s a clear indication that the seeds are approaching full maturity. At this point, the sunflower head is no longer attracting pollinators and can be dedicated to seed development.
- Brown Coloration: The final cue for harvesting is when the back of the sunflower head takes on a brown color. This is the optimum time to harvest sunflower seeds for the best flavor and nutritional content.

Performing the Harvest
Once you’ve observed the signs of maturity, it’s time to perform the harvest. Follow these steps for a successful sunflower seed harvest:
- Use Sharp Tools: Employ sharp scissors or pruning shears to cut the sunflower heads. Leave a few inches of stem attached to the head.
- Choose a Dry Day: Select a dry, sunny day for harvesting to minimize the risk of mold during the drying process.
- Dry the Sunflowers: Hang the sunflower heads upside down in a well-ventilated area. This allows air circulation and ensures thorough drying.
- Seed Removal: Once the sunflower heads are completely dry, gently rub the seeds off the head with your hands or use a fork to assist in the process.
Storage Tips
Properly drying the seeds is essential before storage. Choose suitable containers like glass jars or airtight plastic bags. Keep the seeds in a cool, dry place to prevent mold and discourage pests.
Benefits of Harvesting Sunflower Seeds
Sunflower seeds, often regarded as nature’s powerhouse, not only bring joy to gardeners but also offer a plethora of benefits when harvested. Beyond their delicious taste, the act of harvesting sunflower seeds brings numerous advantages. Let’s explore the various benefits, from nutritional value to sustainable practices.
1. Nutritional Value
Harvested sunflower seeds are a nutrient-dense snack, boasting an array of health benefits:
- Rich in Protein: Sunflower seeds are an excellent source of plant-based protein, making them a valuable addition to vegetarian and vegan diets.
- Healthy Fats: These seeds are packed with healthy fats, including monounsaturated and polyunsaturated fats, promoting heart health and providing a sustainable energy source.
- Vitamins and Minerals: Sunflower seeds are a rich source of vitamins E and B, as well as essential minerals like magnesium and selenium, contributing to overall well-being.
2. Culinary Uses
Beyond their nutritional benefits, harvested sunflower seeds can be a versatile and flavorful addition to various dishes:
- Snacking: Enjoy sunflower seeds as a wholesome snack on their own or mixed with nuts and dried fruits.
- Salads and Yogurt Toppings: Sprinkle roasted sunflower seeds on salads or add them to yogurt for a delightful crunch and nutty flavor.
- Baking: Incorporate sunflower seeds into bread, muffins, or granola recipes for added texture and taste.
- Sunflower Seed Butter: Harvested seeds can be used to make homemade sunflower seed butter, a delicious alternative to traditional nut butters.
3. Sustainability Practices
Harvesting sunflower seeds aligns with sustainable gardening practices, contributing to a greener and more eco-friendly lifestyle:
- Reduced Carbon Footprint: Growing and harvesting your own sunflower seeds reduces reliance on commercially produced snacks, lowering your carbon footprint.
- Composting: The remnants of harvested sunflowers, such as stalks and leaves, can be composted, enriching the soil and minimizing waste.
- Recycling: Sunflower stalks, once dried, can be repurposed for various DIY projects, such as garden stakes or bird feeders, promoting a circular and sustainable approach.
4. Cost Savings
Harvesting sunflower seeds at home can result in cost savings over time:
- Seed Production: By growing and harvesting your own sunflower seeds, you eliminate the need to purchase packaged seeds, saving money in the long run.
- DIY Projects: Repurposing sunflower stalks for DIY projects can reduce the need to buy additional materials, contributing to a more budget-friendly gardening experience.
Common Mistakes to Avoid in Sunflower Seed Harvesting
One common mistake is harvesting too early or too late. Be patient and wait until the sunflower head is fully mature. Additionally, inadequate drying and storage practices can lead to mold or a rancid taste in the seeds. Ensure thorough drying and proper storage to avoid these issues.
DIY Sunflower Seed Recipes
Sunflower seeds are not just a healthy snack; they also lend a delightful crunch and nutty flavor to various dishes. Roasted sunflower seeds and sunflower seed butter are easy to make at home, adding a flavorful twist to your culinary creations.
Roasted Sunflower Seeds
Ingredients:
- Freshly harvested sunflower seeds
- Olive oil
- Salt (to taste)
Instructions:
- Preheat the Oven: Preheat your oven to 300°F (150°C).
- Clean and Dry Seeds: Ensure your sunflower seeds are clean and dry. Remove any remaining bits of sunflower head.
- Toss with Olive Oil: In a bowl, toss the seeds with a drizzle of olive oil, ensuring they are evenly coated.
- Spread on Baking Sheet: Spread the seeds in a single layer on a baking sheet.
- Season with Salt: Sprinkle salt over the seeds according to your taste preference.
- Roast in the Oven: Roast the seeds in the preheated oven for about 20-30 minutes or until golden brown. Stir occasionally for even roasting.
- Cool Before Enjoying: Allow the roasted sunflower seeds to cool before enjoying. They can be stored in an airtight container for a crunchy snack anytime.
Sunflower Seed Butter
Ingredients:
- 2 cups roasted sunflower seeds
- 1-2 tablespoons honey (optional)
- Pinch of salt
Instructions:
- Blend Roasted Seeds: Place the roasted sunflower seeds in a food processor. Blend until a smooth paste forms, scraping down the sides as needed.
- Add Honey and Salt: If desired, add honey for sweetness and a pinch of salt for flavor. Blend again until well combined.
- Adjust Consistency: Depending on your preference, you can add more oil (like vegetable or sunflower oil) to achieve your desired consistency.
- Store in Jar: Transfer the sunflower seed butter to a jar and store it in the refrigerator. It can be used as a spread, in smoothies, or as a dip for fruits and veggies.
Sunflower Seed Granola
Ingredients:
- 3 cups old-fashioned oats
- 1 cup sunflower seeds
- 1 cup chopped nuts (e.g., almonds or walnuts)
- 1/2 cup honey
- 1/4 cup melted coconut oil
- 1 teaspoon vanilla extract
- 1/2 teaspoon cinnamon
- Pinch of salt
- 1 cup dried fruit (e.g., raisins or cranberries)
Instructions:
- Preheat the Oven: Preheat your oven to 300°F (150°C).
- Mix Dry Ingredients: In a large bowl, combine oats, sunflower seeds, chopped nuts, cinnamon, and a pinch of salt.
- Add Wet Ingredients: Pour melted coconut oil, honey, and vanilla extract over the dry ingredients. Mix until everything is well-coated.
- Spread on Baking Sheet: Spread the mixture evenly on a baking sheet.
- Bake in the Oven: Bake for 25-30 minutes, stirring halfway through, until the granola is golden brown.
- Add Dried Fruit: Allow the granola to cool, then mix in the dried fruit.
- Store in an Airtight Container: Once fully cooled, store the sunflower seed granola in an airtight container. Serve with yogurt, milk, or enjoy it as a snack.
These DIY sunflower seed recipes are not only delicious but also a fantastic way to make the most of your freshly harvested seeds. Experiment with different flavors and enjoy the versatility of sunflower seeds in your kitchen.
Frequently Asked Questions
Can I harvest sunflower seeds too late?
It’s best to harvest sunflower seeds when the back of the head turns yellow and the petals start wilting. Harvesting too late may result in seeds that are past their prime.
How long do sunflower seeds last in storage?
When stored properly in a cool, dry place, sunflower seeds can last up to six months to a year.
What are the nutritional benefits of sunflower seeds?
Sunflower seeds are rich in protein, healthy fats, and essential vitamins and minerals, promoting heart health and overall well-being.
Are there any alternative uses for sunflower stalks?
Yes, sunflower stalks can be recycled or repurposed for various DIY projects, such as garden stakes or bird feeders.
How do I know if my sunflowers are ready for harvest?
Check the back of the sunflower head; if it’s yellow and the petals are wilting, it’s time to harvest. Additionally, the seeds should feel hard and plump.
Conclusion
Harvesting sunflower seeds is not only a delightful activity but also a sustainable and rewarding one. From the initial selection of sunflowers to storing your precious harvest, this guide has provided valuable insights. So, roll up your sleeves, embrace the natural process, and enjoy the bountiful benefits of harvesting your sunflower seeds.