
In this comprehensive guide, we will walk you through the art of how to cut a dragon fruit like a pro. Our expert tips and detailed instructions will empower you to enjoy this exotic fruit without any hassle. Whether you’re a seasoned dragon fruit enthusiast or a newbie looking to indulge in this vibrant delight, our step-by-step guide will ensure you make the most of this culinary experience.
1. Introduction
Welcome to our comprehensive guide on how to cut a dragon fruit. At Gardeners Insight, we’re passionate about making your culinary experiences enjoyable and hassle-free. With our detailed instructions, you’ll be able to confidently prepare and enjoy the vibrant flavors of dragon fruit.
2. Choosing the Perfect Dragon Fruit
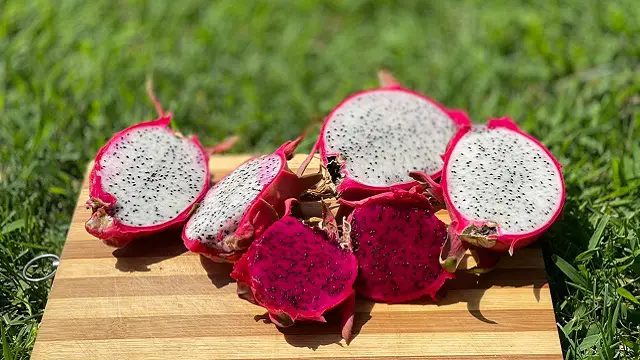
Selecting the right dragon fruit is essential for a delicious outcome. Look for a fruit that has vibrant, evenly colored skin. The skin should be free from major blemishes and soft spots. A slightly yielding texture indicates ripeness, but avoid overly soft fruits. Remember, the outer appearance often reflects the quality of the inner flesh.
3. Tools You’ll Need
To master the art of how to cut a dragon fruit, gather the following tools:
- Sharp Knife: A sharp, serrated knife is your best friend for this task.
- Cutting Board: Choose a stable cutting board to ensure safety and precision.
- Spoon: A sturdy spoon will help you scoop out the dragon fruit flesh effortlessly.
- Paper Towels: Keep paper towels handy to wipe any juices and maintain a clean workspace.
4. Step-by-Step Cutting Guide
Step 1: Wash and Dry
Start by washing the dragon fruit under cold water. Gently scrub the surface to remove any dirt or residue. Pat it dry with a paper towel.
Step 2: Trim the Ends
Place the dragon fruit vertically on the cutting board. Use the sharp knife to carefully trim about half an inch from both ends.
Step 3: Halve the Fruit
Stand the fruit upright and carefully slice it in half from top to bottom. You’ll now have two halves with a flat base for stability.

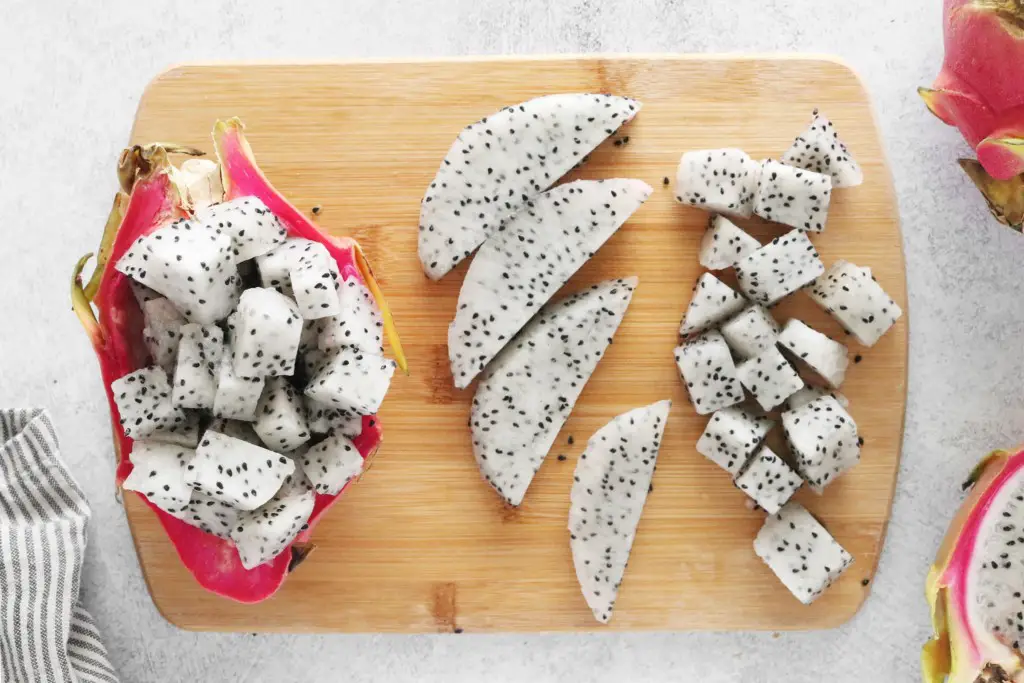
Step 4: Create a Grid
Hold one of the dragon fruit halves and make lengthwise cuts, about half an inch apart, without cutting through the skin. Repeat the process in the opposite direction to create a grid pattern.
Step 5: Scoop Out the Flesh
Gently scoop out the cubed flesh using a spoon. The flesh should easily separate from the skin, thanks to the grid pattern.
5. Creative Serving Suggestions
Now that you’ve successfully learned how to cut a dragon fruit, let your creativity shine through in how you serve it:
- Fruit Bowl: Combine cubed dragon fruit with other tropical fruits for a colorful and refreshing fruit bowl.
- Smoothie: Blend dragon fruit with yogurt, berries, and a splash of coconut water for a vibrant and nutritious smoothie.
- Salad: Add cubed dragon fruit to your favorite salad for a burst of sweetness and texture.
6. Storing Leftover Dragon Fruit
If you have leftover dragon fruit, store it in an airtight container in the refrigerator. It’s best consumed within a day or two to enjoy its optimal freshness and flavor.
7. FAQ (Frequently Asked Questions)
Q1: Can I eat the skin of the dragon fruit?
No, the skin is not typically consumed. Focus on scooping out the delicious flesh inside.
Q2: How can I tell if a dragon fruit is ripe?
Ripe dragon fruit will have vibrant skin color and yield slightly to gentle pressure.
Q3: Can I freeze leftover dragon fruit?
Yes, you can freeze cubed dragon fruit for use in smoothies or desserts.
Q4: Is dragon fruit nutritious?
Absolutely! Dragon fruit is rich in antioxidants, fiber, and essential vitamins.
8. Conclusion
Congratulations! You’ve successfully mastered the art of how to cut a dragon fruit. With our step-by-step guide, you can confidently prepare and enjoy this exotic fruit, adding a touch of vibrancy and deliciousness to your culinary repertoire. Experiment with different serving ideas and savor the unique flavors of dragon fruit today.