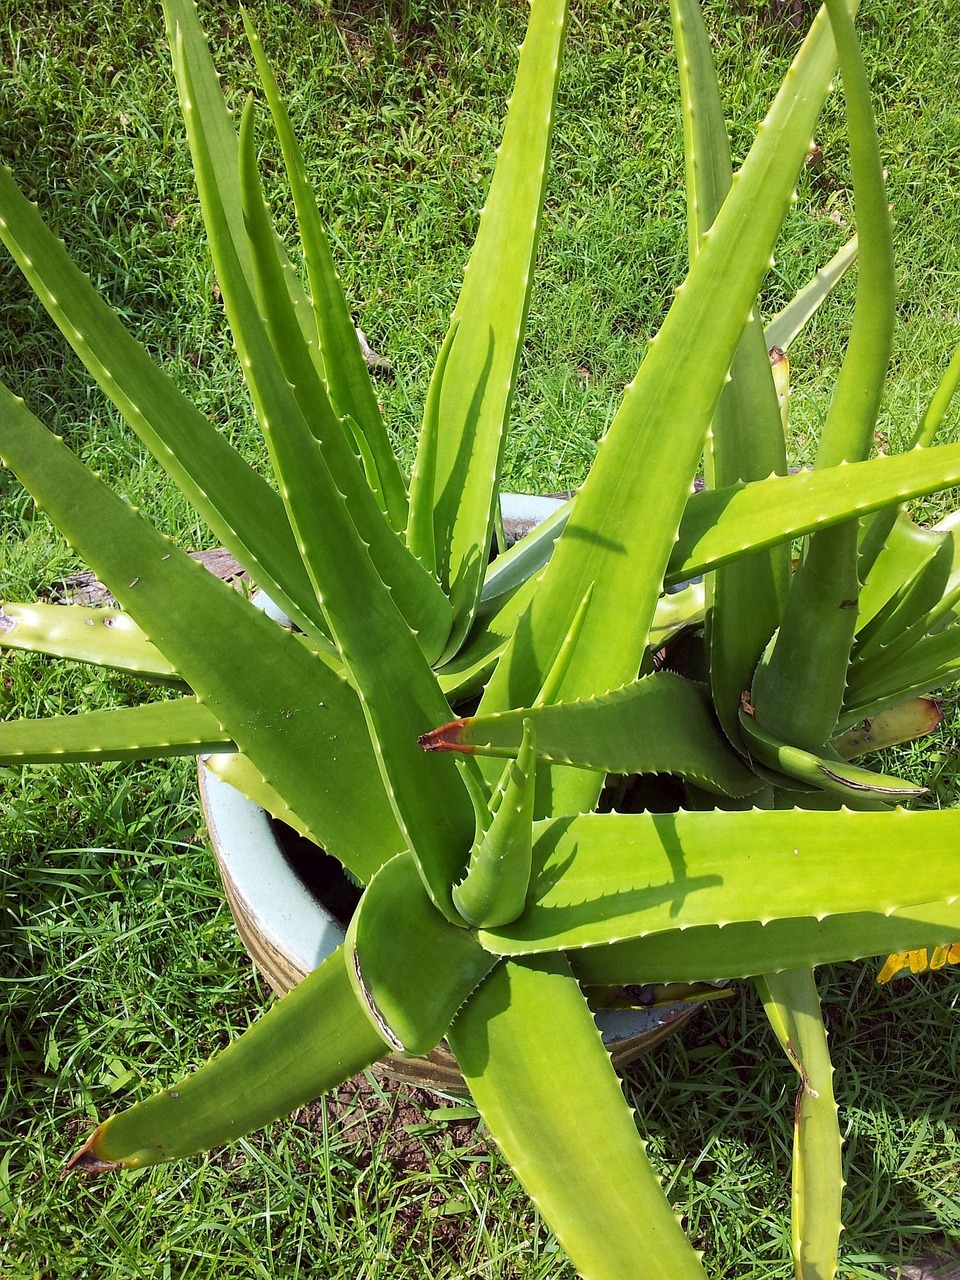
Aloe vera, renowned for its medicinal properties and attractive succulent foliage, is a popular plant that can be easily propagated from leaf cuttings. While the typical method involves using a rooted offset or a pup, propagating aloe vera from a leaf without roots is also a viable option.
This comprehensive guide will walk you through the step-by-step process of planting an aloe vera leaf without roots, ensuring a successful and rewarding experience.
Step 1: Selecting a Healthy Aloe Vera Leaf
Begin by choosing a healthy aloe vera leaf. Look for a mature leaf from a well-established plant. Ensure that the leaf is free from any signs of damage, disease, or pests. A plump and firm leaf with vibrant green coloration is ideal for successful propagation.
Step 2: Gathering Supplies
Before you start the propagation process, gather the necessary supplies. You’ll need a sharp, clean knife or scissors, a suitable pot with well-draining soil, and a shallow container filled with water.
Step 3: Cutting the Aloe Vera Leaf
Carefully cut the selected aloe vera leaf from the plant using a sharp knife or scissors. Make a clean, diagonal cut at the base of the leaf, ensuring it is at least 4-6 inches long. This angled cut increases the surface area for water absorption during the initial stages of propagation.
Step 4: Allowing the Leaf to Callus
Place the cut end of the aloe vera leaf in a dry, shaded area for a day or two, allowing it to form a callus. The callus acts as a protective barrier, reducing the risk of infection during the propagation process.
Step 5: Preparing the Potting Mix
While the leaf is callusing, prepare the potting mix. A well-draining mix with a combination of cactus or succulent soil and perlite or sand works best for aloe vera propagation. Fill the chosen pot with the prepared mix, leaving a couple of inches from the top for easy watering.
Step 6: Watering the Callused Aloe Vera Leaf
After the callus has formed, dip the callused end of the aloe vera leaf into a shallow container of water. Allow the cut end to absorb water for a few minutes, ensuring the leaf is hydrated before planting.
Step 7: Planting the Aloe Vera Leaf
Create a small hole in the center of the prepared potting mix using your finger or a stick. Gently insert the callused end of the aloe vera leaf into the hole, making sure the leaf is planted at a slight angle. The goal is to mimic the natural growth pattern of aloe vera.
Step 8: Watering and Caring for the Propagated Leaf
Water the newly planted aloe vera leaf lightly, ensuring the soil is moist but not waterlogged. Place the pot in a location with bright, indirect sunlight, as aloe vera thrives in well-lit conditions. Avoid placing the pot in direct sunlight initially, as it may stress the newly propagated leaf.
Step 9: Patience and Monitoring
Successful propagation requires patience. Keep a close eye on the planted aloe vera leaf, monitoring its progress. Water sparingly, allowing the soil to dry out between watering sessions. Overwatering can lead to root rot and hinder the propagation process.
Step 10: Root Development and Transplanting
Over the next few weeks, the aloe vera leaf will begin to develop roots. Once a sufficient root system has formed, typically after 4-6 weeks, you can consider transplanting the new aloe vera plant into a larger pot if needed.
Conclusion:
Propagating aloe vera from a leaf without roots is a rewarding and straightforward process. By following these step-by-step instructions, you can successfully cultivate new aloe vera plants, providing you with a continuous supply of this versatile and beneficial succulent. Remember to exercise patience and care throughout the propagation journey, and soon you’ll be enjoying the beauty and benefits of your thriving aloe vera plant.