Introduction
Peperomia plants, known for their charming foliage and ease of care, have gained popularity among indoor plant enthusiasts. With a variety of shapes, sizes, and colors, they make a delightful addition to any plant collection. If you’re interested in expanding your Peperomia collection or sharing these beauties with friends, propagating them is an excellent option.
In this guide, we will explore how to successfully propagate Peperomia plants. Whether you’re an experienced plant parent or just starting your green journey, we’ve got you covered. We will discuss different propagation methods, care tips, and common questions to ensure your Peperomia babies thrive.
Understanding Peperomia Plants
What Are Peperomia Plants?
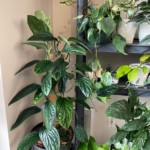
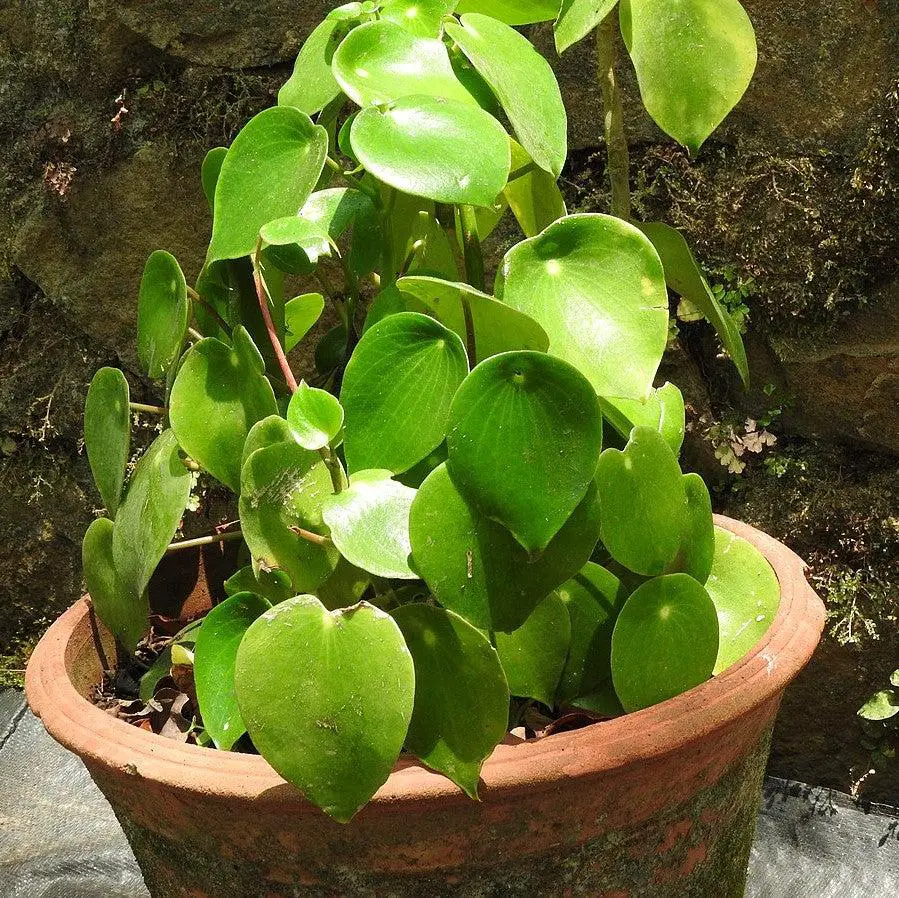
Peperomia is a diverse genus of small, easy-to-care-for houseplants. These plants are known for their fleshy leaves and come in various shapes, sizes, and colors, including shades of green, red, and silver. Some common varieties include Peperomia obtusifolia, Peperomia caperata, and Peperomia clusiifolia, among others.
Why Propagate Peperomia Plants?
Propagation is an excellent way to expand your Peperomia collection without the need to purchase new plants. It also allows you to share these lovely plants with friends and family. Moreover, propagating your Peperomia can help rejuvenate older plants and promote healthier growth.
Peperomia Propagation Methods
Leaf Cuttings
Steps for Propagating Peperomia from Leaf Cuttings
- Select a healthy, mature leaf from your Peperomia plant, ensuring it has no signs of disease or damage.
- Using clean, sharp scissors, cut the selected leaf into sections, each containing a vein. Each section should be around 2-3 inches long.
- Allow the cuttings to air dry for a day or two. This step helps prevent rotting.
- Prepare a small pot with well-draining potting mix. Plant the leaf cuttings about 1 inch deep.
- Water the soil lightly to settle it around the cuttings.
- Cover the pot with a plastic bag or a plastic dome to create a mini-greenhouse effect, which helps retain moisture.
- Place the pot in bright, indirect light.
- After a few weeks, you’ll notice new growth emerging from the leaf cuttings.
- Once the new plants have a few inches of growth, you can transplant them into individual pots.
Stem Cuttings
Steps for Propagating Peperomia from Stem Cuttings
- Select a healthy stem with at least a few leaves. Avoid stems with flowers or buds.
- Using clean, sharp scissors, cut the stem just below a leaf node (the point where a leaf attaches to the stem). Each cutting should be around 2-4 inches long.
- Allow the cuttings to air dry for a day or two.
- Plant the stem cuttings in a small pot with well-draining potting mix, burying them about an inch deep.
- Water lightly to settle the soil.
- Cover the pot with a plastic bag or dome to create a humid environment.
- Place the pot in bright, indirect light.
- After a few weeks, roots should start to develop, and new growth will appear.
- Once the new plants have sufficient growth, transplant them into individual pots.
Water Propagation
Steps for Water Propagation of Peperomia Plants
- Select a healthy leaf or stem cutting.
- Place the cutting in a clear glass or jar with enough water to submerge the bottom portion of the cutting but not the leaves.
- Change the water every few days to keep it fresh.
- Position the container in bright, indirect light.
- Over time, you will see roots forming from the submerged portion of the cutting.
- Once the roots are a few inches long, you can transfer the cutting into a pot with potting mix.
- Care for the newly potted cutting as you would a mature Peperomia plant.
Care Tips for Peperomia Propagation
Suitable Conditions for Propagation
Propagation is most successful when the ambient temperature is consistently warm, ideally between 65°F to 75°F (18°C to 24°C). Avoid exposing your cuttings to drafts or temperature extremes.
Potting Mix and Containers
Use a well-draining potting mix for your Peperomia cuttings. A mix formulated for succulents or cacti works well. Choose small pots or containers to provide a snug fit for your cuttings while allowing for proper drainage.
Watering and Humidity
During propagation, it’s crucial to maintain the right level of moisture without overwatering. Keep the soil slightly damp but not soggy. Using a plastic bag or dome over your cuttings can help create a humid microclimate.
Providing Adequate Light
Place your propagating Peperomia in bright, indirect light. Direct sunlight can scorch the delicate cuttings, so avoid placing them in full sun. Aim for 6-8 hours of daily light exposure.
Fertilization
Avoid fertilizing your Peperomia cuttings until they have developed a robust root system and have been transplanted into their individual pots. Once they’ve settled into their new homes, you can begin a regular fertilization schedule.
Common Peperomia Propagation Problems and Solutions
Yellowing Leaves
Problem: If the leaves of your propagated Peperomia start turning yellow, it could be due to overwatering. Peperomias are prone to root rot if the soil remains excessively wet.
Solution: Allow the soil to dry out slightly between waterings. Ensure your pots have drainage holes, and use well-draining soil. Trim any yellowed leaves to prevent the issue from spreading.
Rotting Stems or Leaves
Problem: Rotting stems or leaves can occur if the cuttings are placed in soil that retains too much moisture or if they are overwatered.
Solution: Remove the affected cuttings immediately to prevent the rot from spreading. Allow the remaining cuttings to dry out slightly, and adjust your watering routine to prevent overhydration.
Slow Growth
Problem: If your Peperomia cuttings are growing slowly or not at all, it may be due to insufficient light.
Solution: Move your cuttings to a brighter location with indirect sunlight. Make sure they receive at least 6-8 hours of light daily.
Leggy Growth
Problem: Leggy growth with elongated stems and widely spaced leaves can result from inadequate light.
Solution: Place your Peperomia cuttings in a location with better lighting conditions. Prune leggy growth to encourage bushier, more compact growth.
FAQs About Propagating Peperomia Plants
Q1: Can I propagate Peperomia in water?
A: Yes, Peperomia can be propagated in water. Follow the steps outlined in the “Water Propagation” section above.
Q2: How long does it take to propagate Peperomia?
A: The time it takes to propagate Peperomia varies depending on factors like the method used and environmental conditions. Leaf and stem cuttings typically start showing new growth within a few weeks to a couple of months.
Q3: Can I propagate variegated Peperomia plants?
A: Yes, you can propagate variegated Peperomia plants using the same methods as non-variegated varieties. Just ensure that the cuttings you choose are healthy and free from disease.
Q4: Can I propagate Peperomia in the winter?
A: While propagation can be done year-round, Peperomia plants tend to grow more slowly in the winter due to lower light levels and cooler temperatures. It’s best to propagate during the growing season for faster results.
Q5: Can I use rooting hormone when propagating Peperomia?
A: While Peperomia can be propagated successfully without rooting hormone, using a rooting hormone can expedite the root development process, especially in stem cuttings.
Conclusion
Propagating Peperomia plants can be a rewarding and cost-effective way to expand your collection and share the joy of these charming houseplants with others. With the right methods and care, you can grow healthy Peperomia babies that will thrive for years to come. Remember to be patient, as propagation can take some time, but the rewards are well worth the wait. Happy propagating!